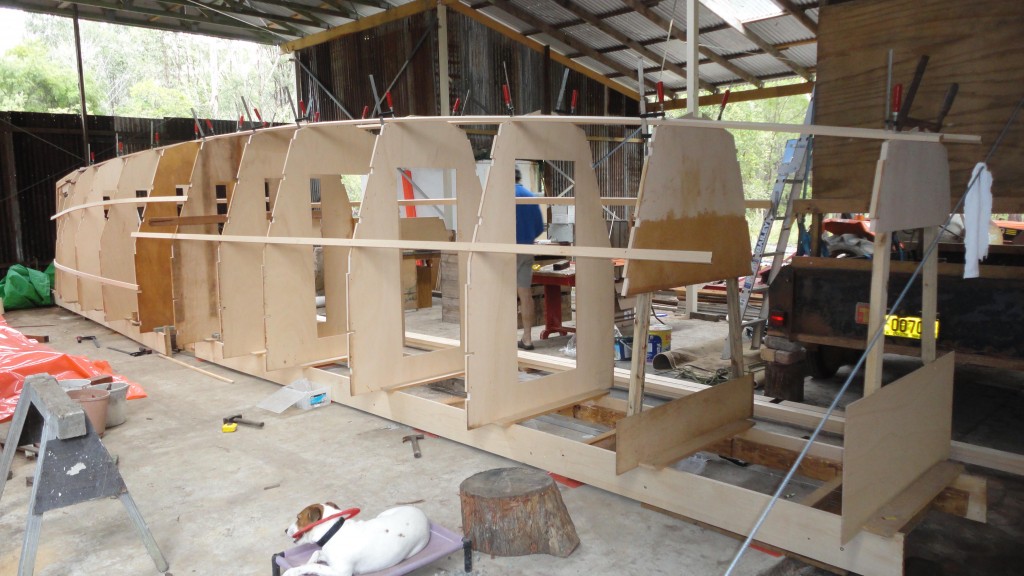
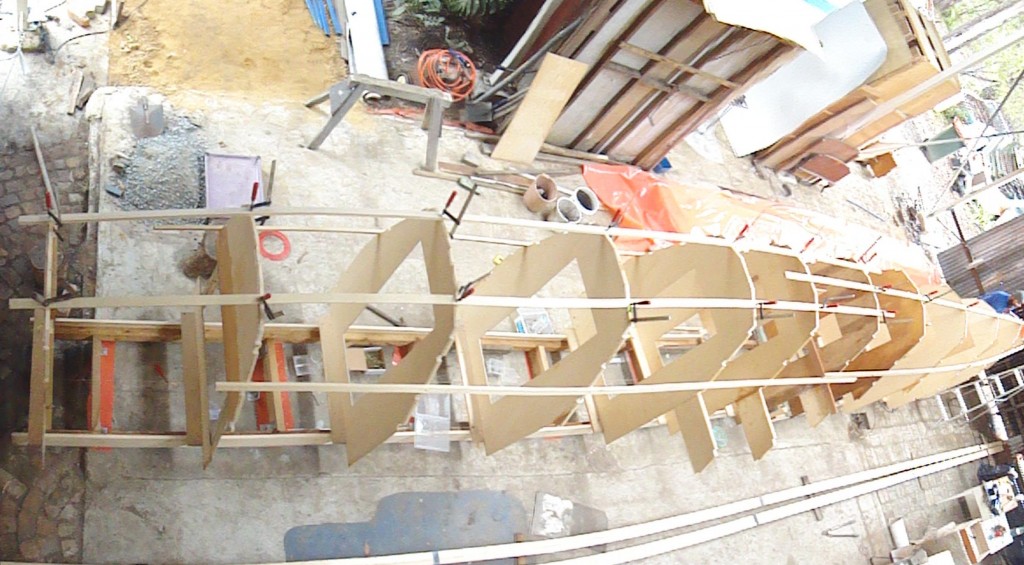
The frames were already prepared, so it didn’t take long after the building stock was ready for some fast progress. Having the frames cut on the CNC router really made a big difference. The notches for the stringers and chines were already in the right places, so I only had to pick up the jigsaw and cut them out – no measuring required.
Because of all the trigonometry that went into cutting the frames on the CNC router, I knew the angles of each side of each frame. When it came to cutting the angles for the joins in the 6 pieces that ring the frames, I just set the angle on the table saw mitre box, and cut to length. Perfect angles each cut and saved huge time compared to using a mitre protractor.
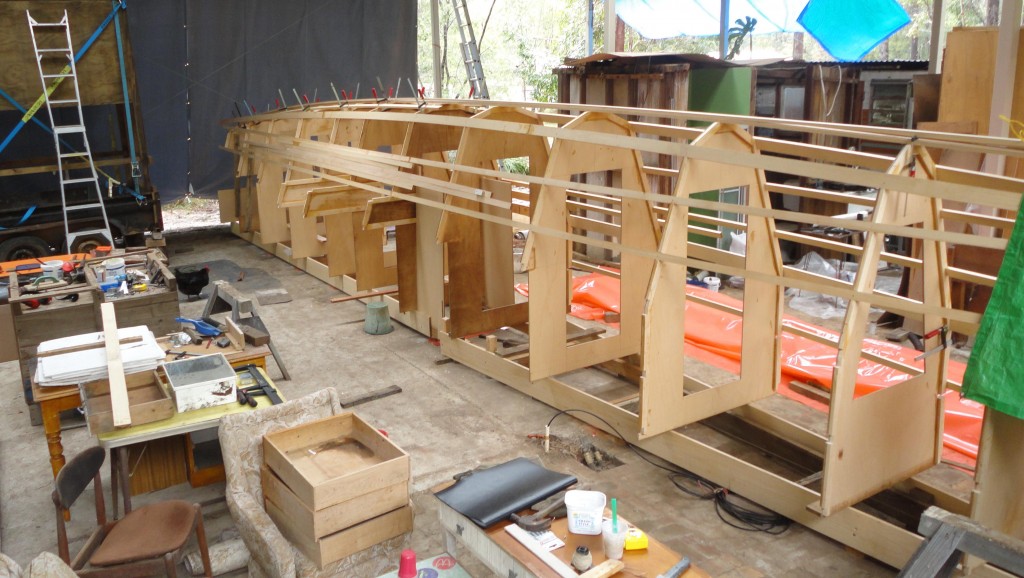
An experimental variation from the design sequence is to incorporate the outboard pod into the frames from the start. The design calls for small trapezoidal pieces to be stuck on later, but that looked weak to my eyes. You will see the extensions on frames 6, 6A, and 7 already in place in the last photo.
At the end of the weekend, we had all frames stood, with 2 temporary battens on each side, and the keelson, lower chines, and the two bottom stringers screwed on. It now looks like a boat, and a really big one at that!
Once the remaining stringers and chines are on, they all have to come off one-by-one for gluing and refitting, before fairing the hull. That will all be very time consuming with little to show for the progress.


