Outboard Pod

This gallery contains 11 photos.

The outboard pods form part of the bridgedeck that joins the two hulls. The pod is now finished on the first hull, and this post goes right back to the start and shows the progress of the pod from start … Continue reading

More Galleries | Leave a comment

Keel

This gallery contains 6 photos.

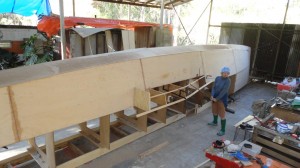
The keel is now complete, resting on the top of the upside-down first hull. In retrospect, this post recaps the construction of the keel, from the drafting of the components, to the assembly and fitting of the keel to the … Continue reading

More Galleries | 1 Comment

Modes of Transport

In a quiet moment, I caught Birgit contemplating various modes of transport

I wonder when I can give up this pilot's licence for a coxswain's?

Posted in People | Leave a comment

Bow Voids

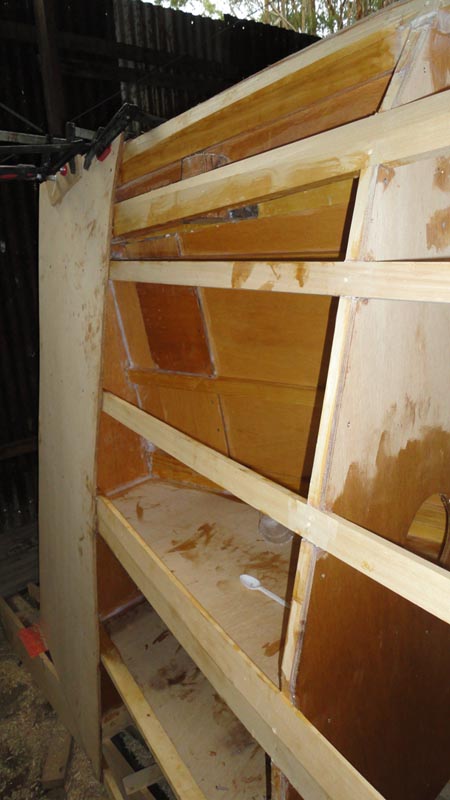
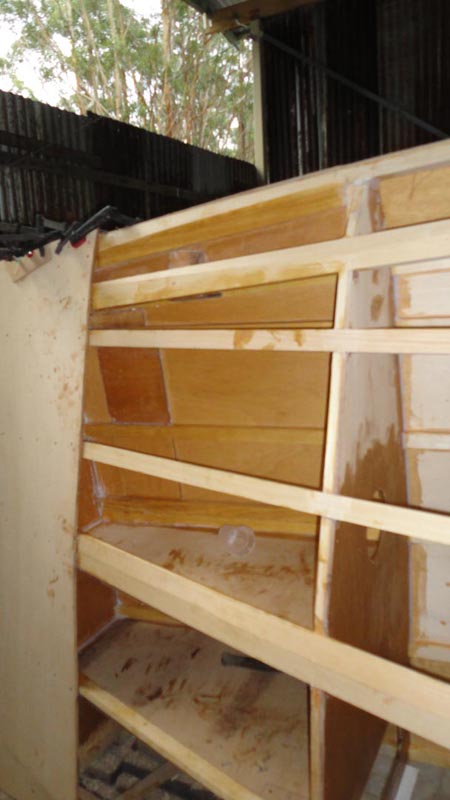
Right up in the bow are two voids. These are between the stem and the first frame (Frame 1) and then between the next 2 frames (Frames 1 and 1A). The first of these is quite tiny, with the stem and bracing pieces, there is almost no volume to the void.

These voids are thoroughly impregnated in epoxy.

The second void has been segmented with horizontal planes of plywood between the stringers on each side of the hull, making the bow a totally rigid structure.

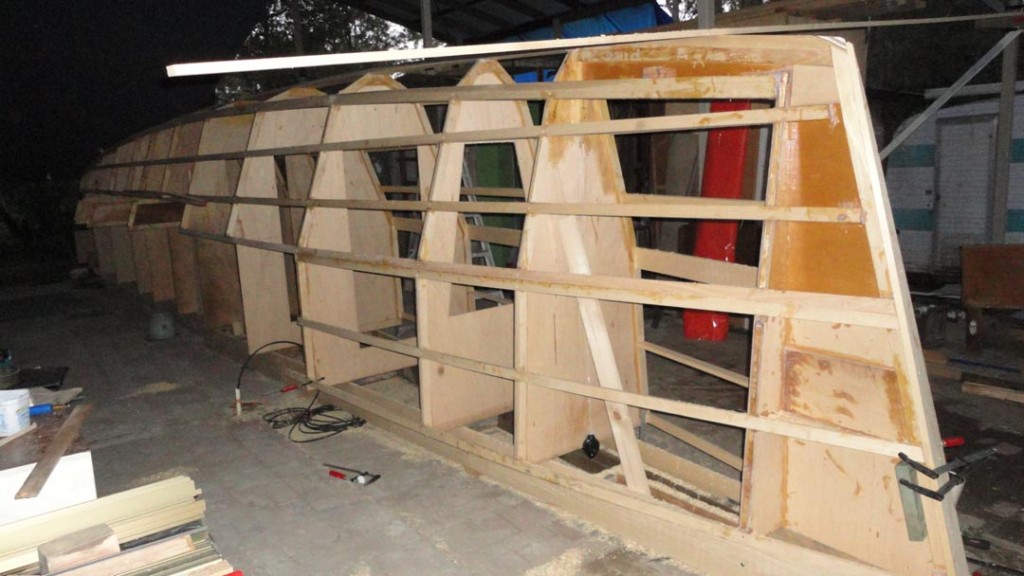
Hull Skeleton of Frames and Stringers

Difficult to see in this photo is the bracing behind each of the stringers forward of the first frame, closing in the gap between the stringers and the stem. We are trying to achieve maximum strength with the minimum amount of material and mass.

Encapsulating the void in epoxy resin


Aft side of Frame 1, and the butt blocks on the inside of the first sheet joint

The top of these butt-blocks was later built up to triple thickness, just above the waterline, so that an eye-pad can be fitted on the inside of the bow. The total thickness of the backing pad is 36mm, and this will be drilled and filled with threaded epoxy for machine screws to secure the eye-pad.

Note the shelves between the stringers, the breastblocks under the lower chine, and the cutouts for inspection ports

Posted in Sheeting the Hull | Leave a comment

Finger Plane

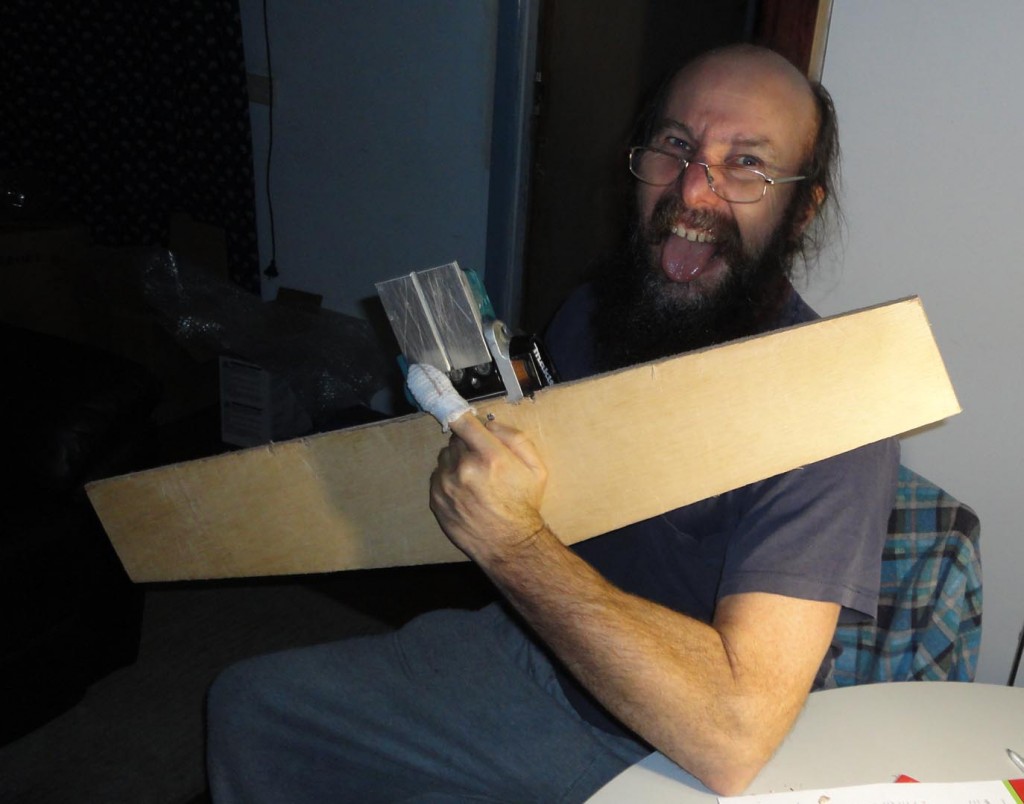
I have had a short setback to the building, having planed the end off my left index finger.

It was all very stupid. I was trying to take the corner off a small block of wood, and did exactly what you shouldn’t – I held the small block against the rotating planer blades. Of course, the block of wood was ejected by the blades, leaving my finger to bring them to a stop. Ouch!

That was over 2 weeks ago. It’s nearly better now. If you don’t want to see the damage, then don’t click on the photo below. If you don’t mind gore, go for it.

Demonstrating how to use a planer. CLICK WARNING - this link contains BLOOD

I treated the wound at home first, but when it was still bleeding through the dressing 24 hours later, I thought professional help was required. I was treated at the Emergency department of the local hospital twice before they referred me to the local Dressing Clinic. I am just back from that clinic for the last time. The wound is still a bit sore, but today’s should be the last dressing.

Posted in Injuries | Leave a comment

Sheeting Commenced

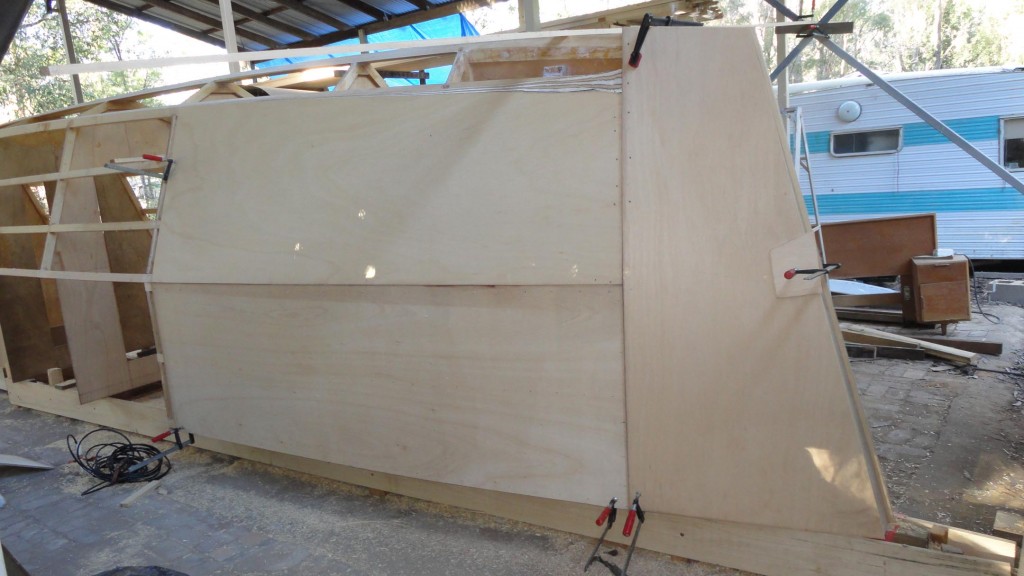
Sheeting starts at the bow. I was concerned about the bow sheeting on other Easy cats I have seen in construction. It seems that there is too much depth of ply removed from the overlapping joint at the lower chine.

While the designer has no problem with that overlap joint, it seems unnecessary when the first frame is effectively flat, with no kink for the chines. So I tried this sheeting method, dry first, to see whether it will work.

Sheeting Variation - Use full height for the stem piece


The sheets fitted fine. But there is a bit of a trick. The stem piece, on the right, has to go up first, so that the next two have an edge to be aligned to. But then the sheet at the top left of the photo has to be planed to allow the future hull bottom to overlap on the lower chine. You will notice in the photo where the end-grain plywood on that sheet has been planed. The stem piece was removed, the planing completed, and the stem piece replaced.

It all fits very nicely, with a much reduced amount of end-grain showing. I am happy with this, and will proceed with removing and gluing these sheets.

Posted in Sheeting the Hull | Leave a comment

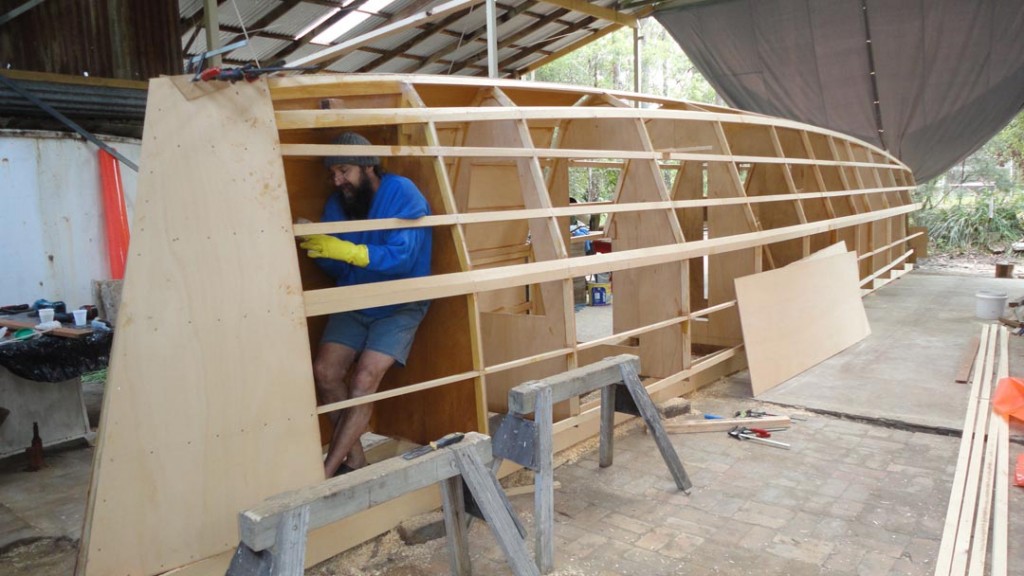
Starboard hull takes shape

The frames were already prepared, so it didn’t take long after the building stock was ready for some fast progress. Having the frames cut on the CNC router really made a big difference. The notches for the stringers and chines were already in the right places, so I only had to pick up the jigsaw and cut them out – no measuring required.

Because of all the trigonometry that went into cutting the frames on the CNC router, I knew the angles of each side of each frame. When it came to cutting the angles for the joins in the 6 pieces that ring the frames, I just set the angle on the table saw mitre box, and cut to length. Perfect angles each cut and saved huge time compared to using a mitre protractor.

An experimental variation from the design sequence is to incorporate the outboard pod into the frames from the start. The design calls for small trapezoidal pieces to be stuck on later, but that looked weak to my eyes. You will see the extensions on frames 6, 6A, and 7 already in place in the last photo.

At the end of the weekend, we had all frames stood, with 2 temporary battens on each side, and the keelson, lower chines, and the two bottom stringers screwed on. It now looks like a boat, and a really big one at that!

Once the remaining stringers and chines are on, they all have to come off one-by-one forĀ gluingĀ and refitting, before fairing the hull. That will all be very time consuming with little to show for the progress.
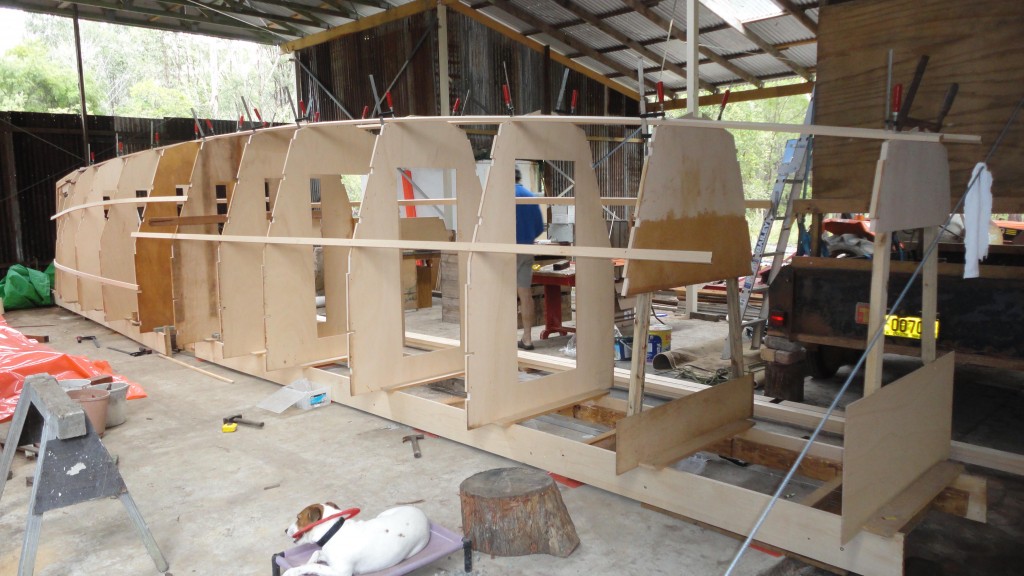
Outside of s'bd hull
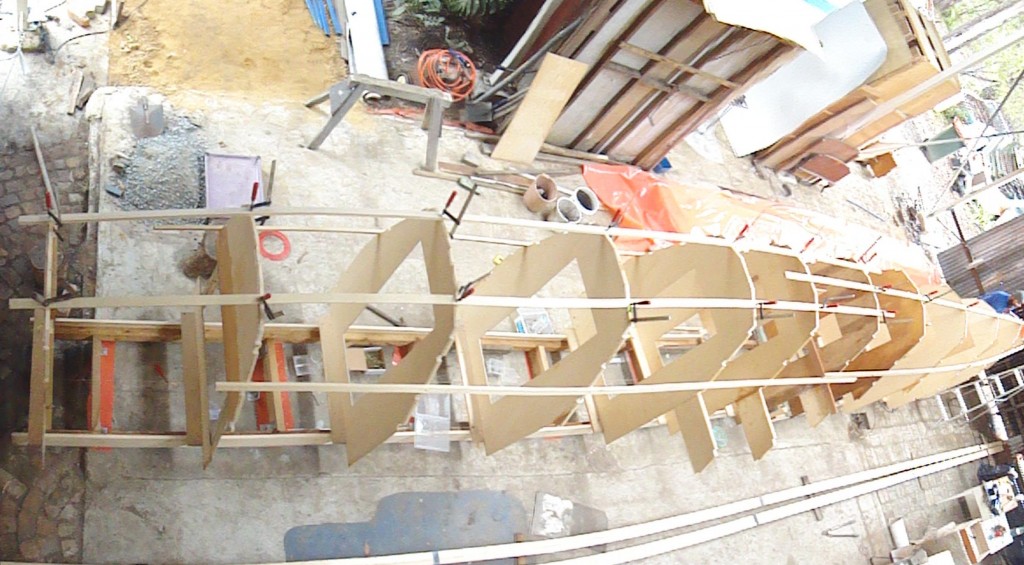
Bird's eye
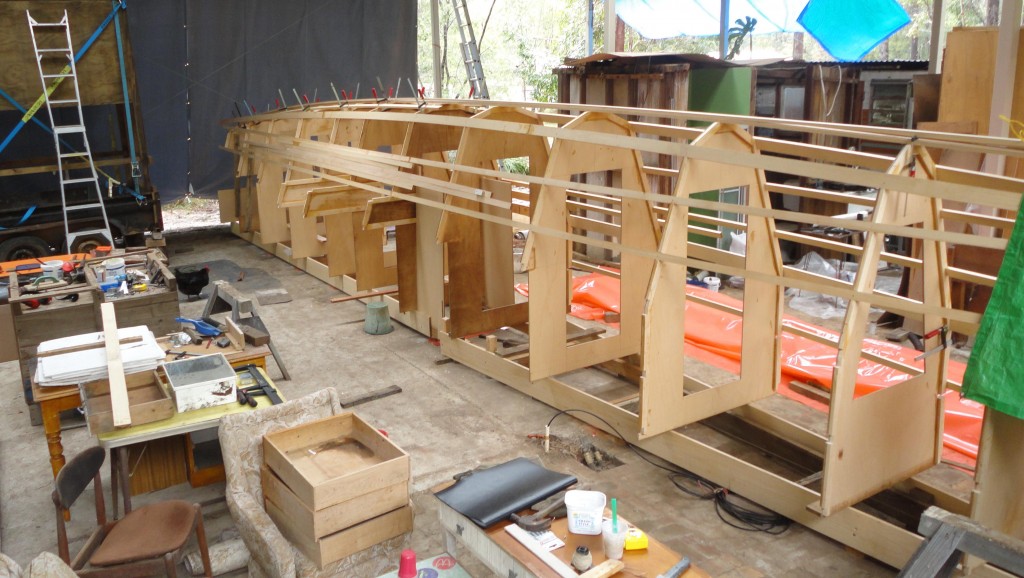
Inside of hull, showing outboard pod frames already in place

Posted in Hull Frames | Leave a comment

Building Stock Ready

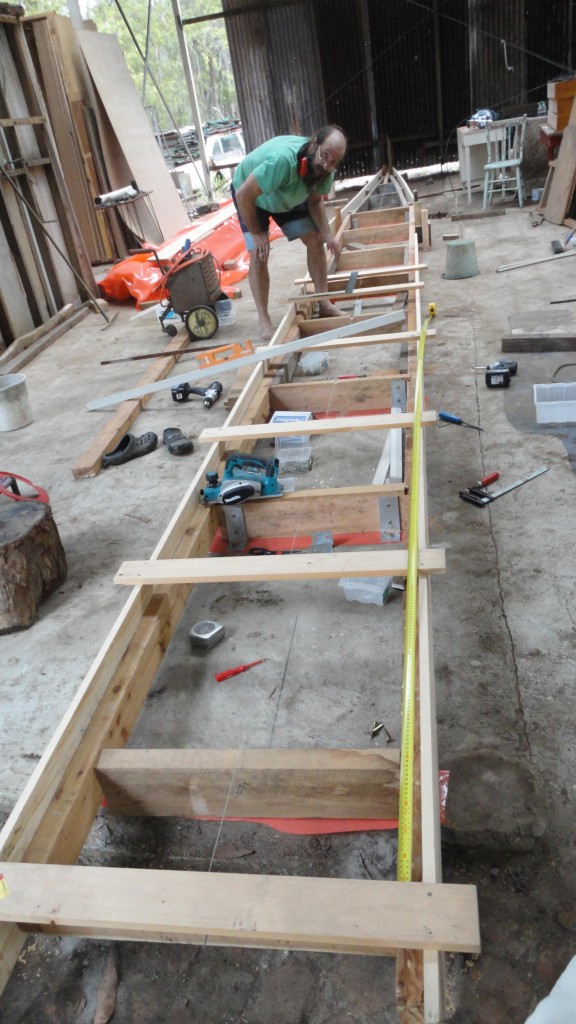
Using the existing concrete slab that was the floor of my old house, I have secured 4mm angle brackets with dynabolts. To each 9 pairs of brackets, I have screwed a 650mm piece of 100×50 cypress pine.

Onto each edge of those 9 crosspieces, lengths of cypress 100×50 make the frame that the building stock is screwed to. The cypress pine were from a shop in Moree that my brother and I refitted several years ago. The timber is really old, hard (brittle) but straight and resistant to rot and termites.

The final building stock screwed onto the outside is the 200×18 hoop pine that will eventually go into the frames that join the two hulls together.

Strongback for boatbuilding

Posted in Preparations | Leave a comment

Shed Complete

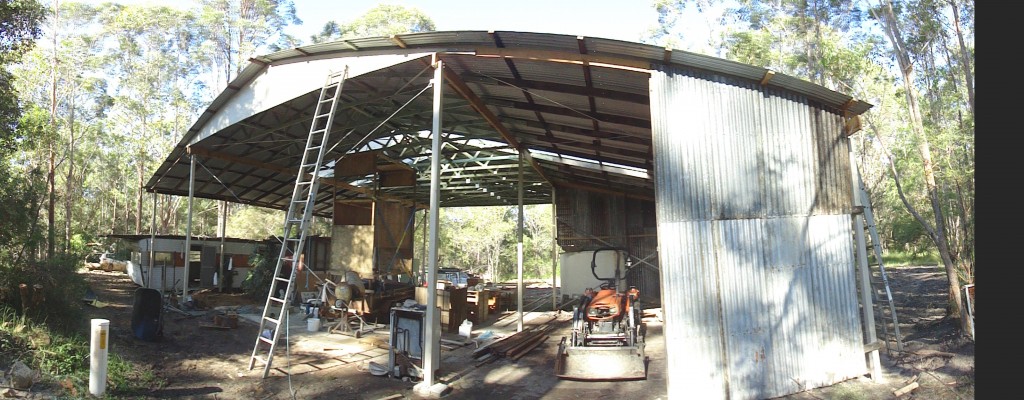
Complete, but not finished. I guess a farm shed is really never finished. But they will have to wait! There is a bigger project to get started. Better start tidying up.

Posted in Shed | Leave a comment

Ready for a Roof

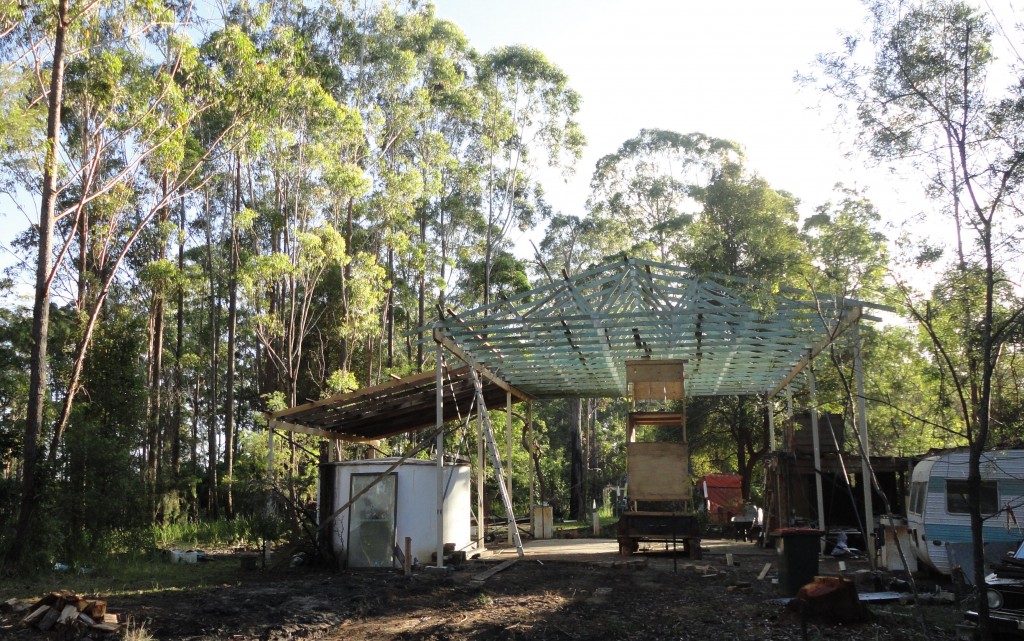
Progress is fast now. Battens up on the main part of the roof. Some roofing going on. Still planning to add a skillion to the east side as well, but it is starting to look like a shed now.

Looking North

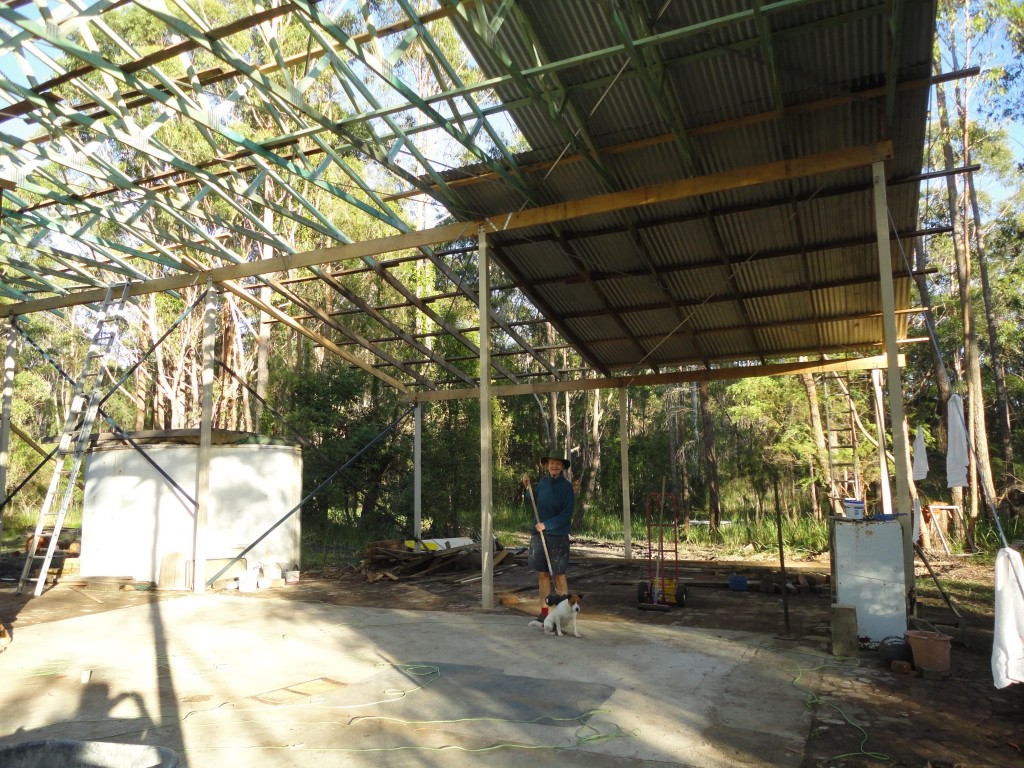
Birgit and Bess

Posted in Shed | 2 Comments